
Version 5.9
In this Topic: Show
The List Maintenance screen is used to add or delete list entries such as status event labels. You can use almost any text, e.g. Paid, Approved, Item Backordered, however, it is recommended to keep labels short (less than 50 characters). Do not use single ( ' ) and double ( " ) quotes.
For more information about the default system status event labels, refer to the Knowledge Base topic, Status Events.
At the Main Menu, click the [Maintenance Menu] icon > Maintenance tab> [List Maintenance] link, to open the List Maintenance screen.
Click on the entry called Status in the Select List box on the left-hand side of the screen.
The default list of entries that are provided with the program will displayed in the List Entries section on the right-hand side of the screen.
To add a new entry to the list of acceptable statuses, click in the text field labeled Status, found directly above List Entries, and type in the desired value. Figure 1 shows that an entry of "Payment Expected" will be added. Notice in List Entries that the status does not currently exist.
Click [Save] or press the [Enter] key twice to add the entry to the list. Doing so will also return the cursor to the Status text field where you can continue to add other status labels.
Repeat steps 4 and 5 to add as many status labels as necessary.
When finished, click [Close] to exit the List Maintenance screen.
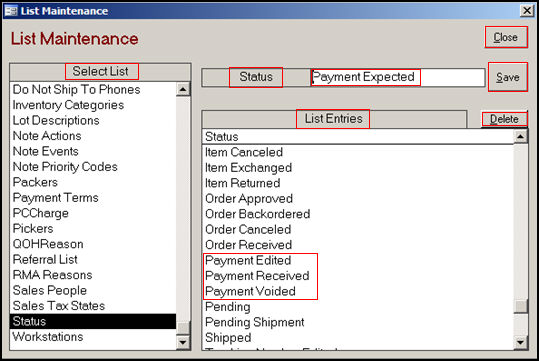
Figure 1: The List Maintenance Screen
To delete an entry in the currently selected list, single-click on it in the List Entries section of the screen. Figure 2 shows that the status label "Payment Expected", which was added in the previous example, is to be deleted.
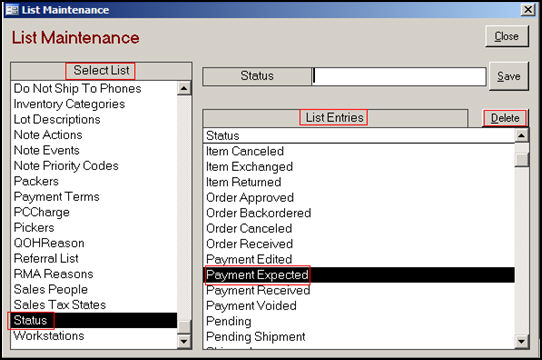
Figure 2: The List Maintenance screen
Click the [Delete] button.
The program will prompt the user for confirmation prior to deleting the entry.
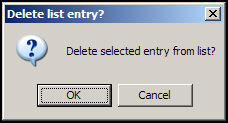
Click [OK] to delete the entry or [Cancel] to abandon the change.
Click [Close] to exit the List Maintenance screen.
![]()
Updated 12/8/10
Go to Top