![]()
Version 7.0
![]()
Version 7.0
Contents of this Topic: Show
SEOM 2012 can be used on a single workstation or across a local area network (LAN). It was not designed to be used across the Internet, although some of our customers have been able to configure the program for remote access by using MS Windows Remote Desktop Connection (Terminal Services). That process is not in scope for this topic.
This topic discusses the steps to install SEOM and the Monsoon Commerce Payment Module (MCPM) in a single workstation environment. There is a separate topic for installing the programs in a networked environment.
SQL Server or SQL Express must be configured in accordance with the instructions in the Monsoon Commerce Implementation Guide.
Prior to launching SEOM Version , you must install and configure the Payment Module.
Payment transaction data from an existing SEOM data file can be migrated to the new PM database through the Data Migration Utility provided by Stone Edge Technologies Inc. The Data Migration Utility also cleanses the cardholder data in the pre-existing store data file. Until that process is completed, you are not able to process new payment transactions through SEOM/PM.
First-time SEOM users do not need to run the Data Migration Utility.
Review the appropriate material below prior to installing SEOM:
All users: PRIOR to installing the program, review the system requirements.
![]()
Prepare the environment as outlined in the Monsoon Commerce Implementation Guide.
Access 2013 users: See the Knowledge Base article MS Access 2013 PRIOR to installing the program for information about known installation issues.
Access 2010 users: See the Knowledge Base article MS Access 2010 PRIOR to installing the program for information about known installation issues.
Access 2007 users: See the Knowledge Base article MS Access 2007 for instructions on changing macro security PRIOR to installing the program to avoid installation errors.
Microsoft Windows 7 Users: See the Knowledge Base article Windows 7 PRIOR to installing the program.
SQL Server does not have a limit on the size of an individual database, as SQL Express does (10GB). The amount of memory SQL Server can use is not restricted, as is the case with SQL Express. Larger enterprises should consider purchasing a license for SQL Server.
If you have purchased and already installed a copy of SQL Server, you may use an existing instance for the Payment Module's database or create a new instance for its database.
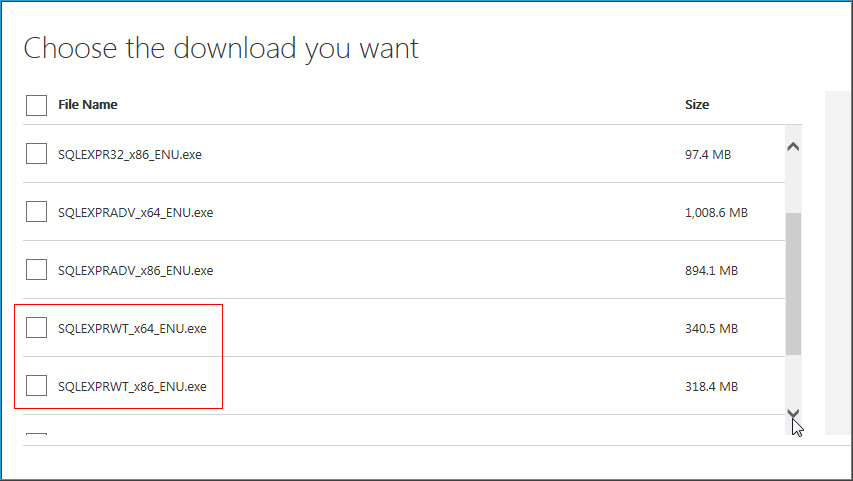
Otherwise, download a copy of SQL Express from the Microsoft website, by selecting the x86 installer for 32-bit machines and the x64 installer for 64-bit machines.
Execute the downloaded installer for SQL Express.
The SQL Server Installation Center appears.
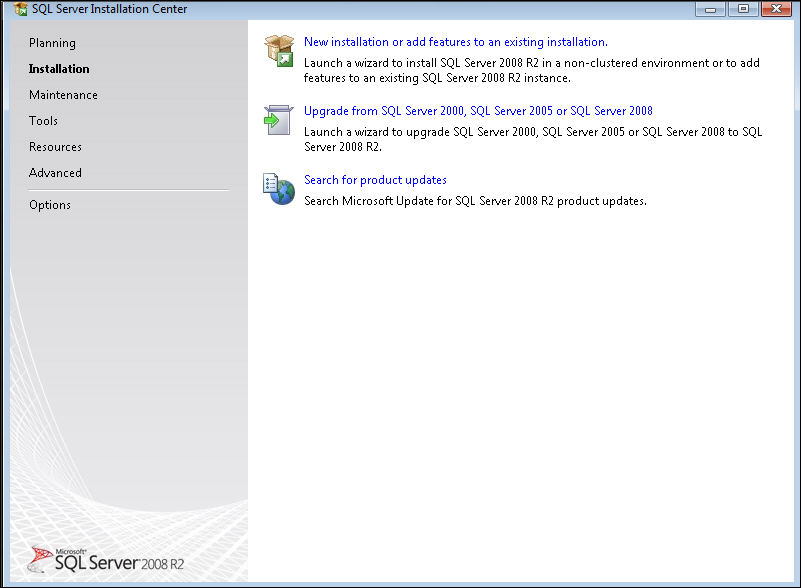
Select New installation or add features to an existing installation.
Review the Microsoft User Agreement and select I accept the license terms.
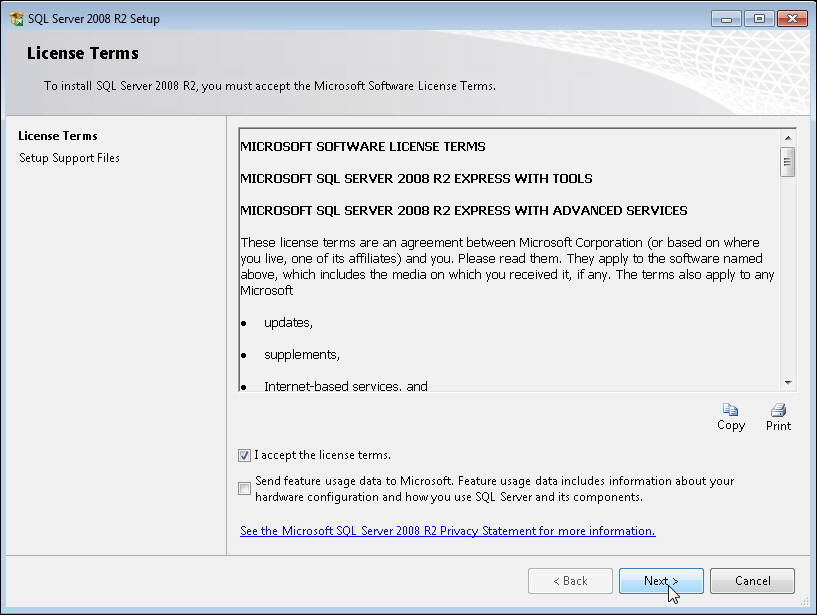
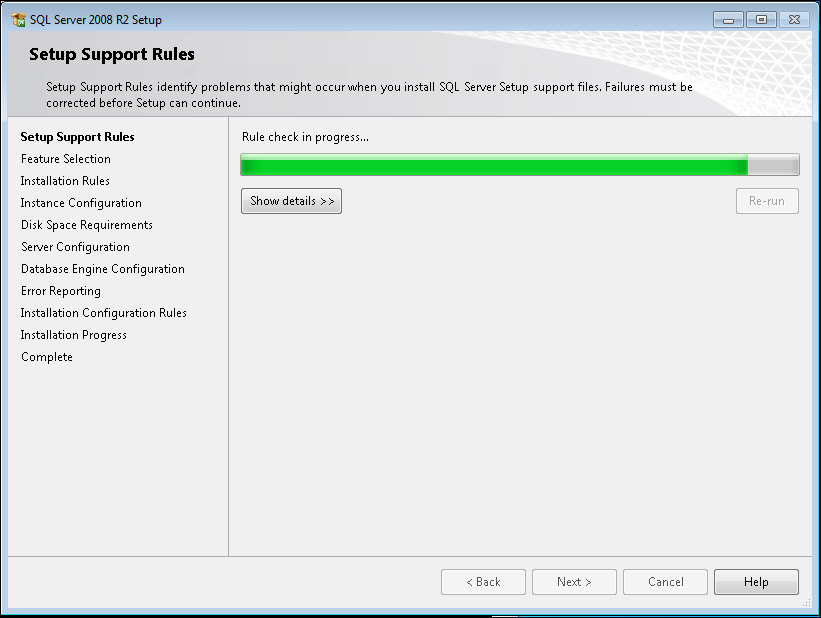
Select Next to continue.
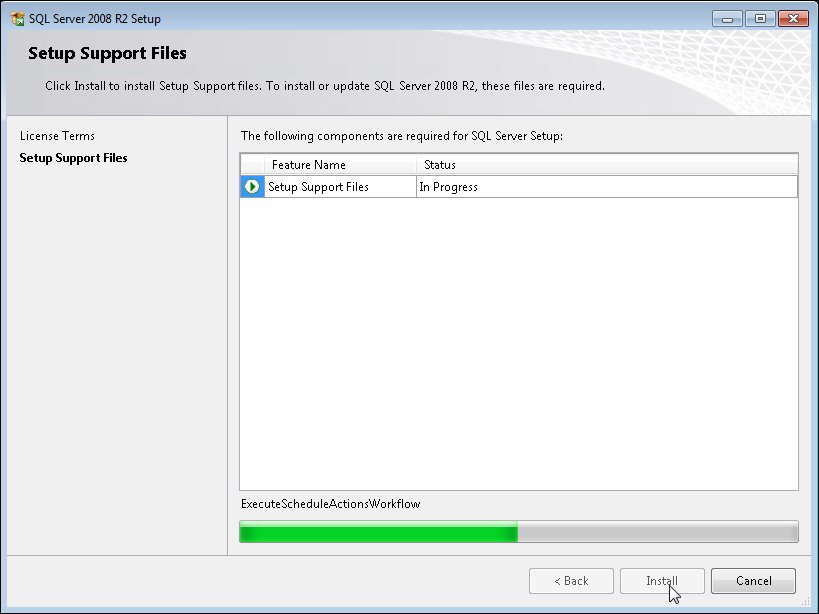
Select Install on the Setup Support Files screen.
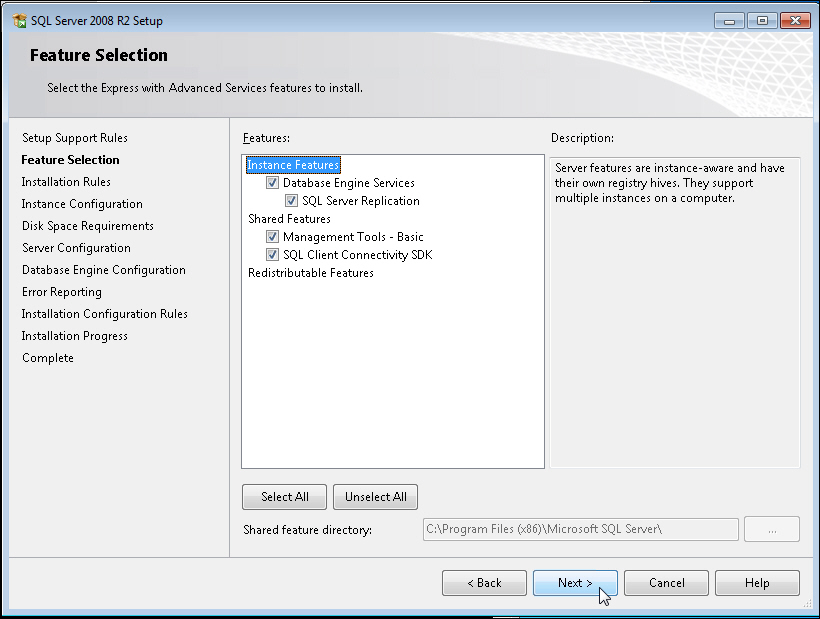
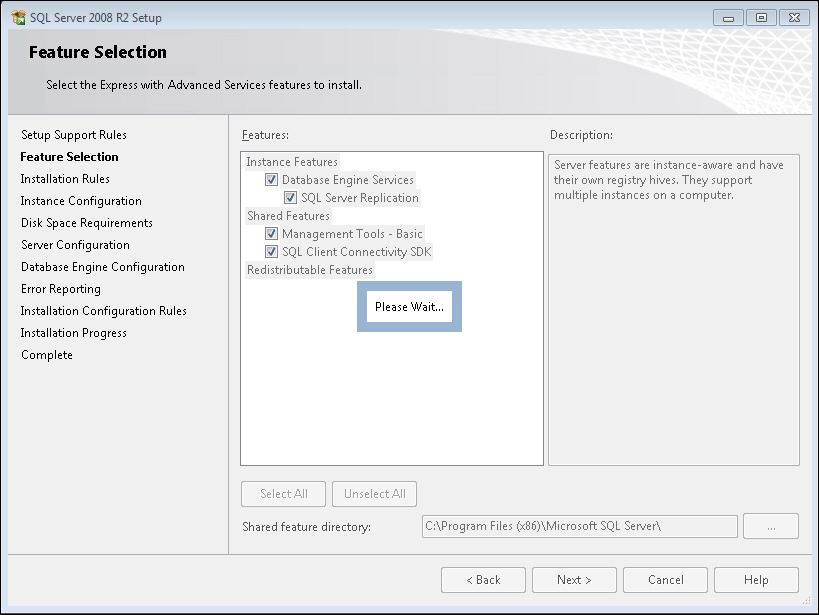
Select Next on the Feature Selection screen.

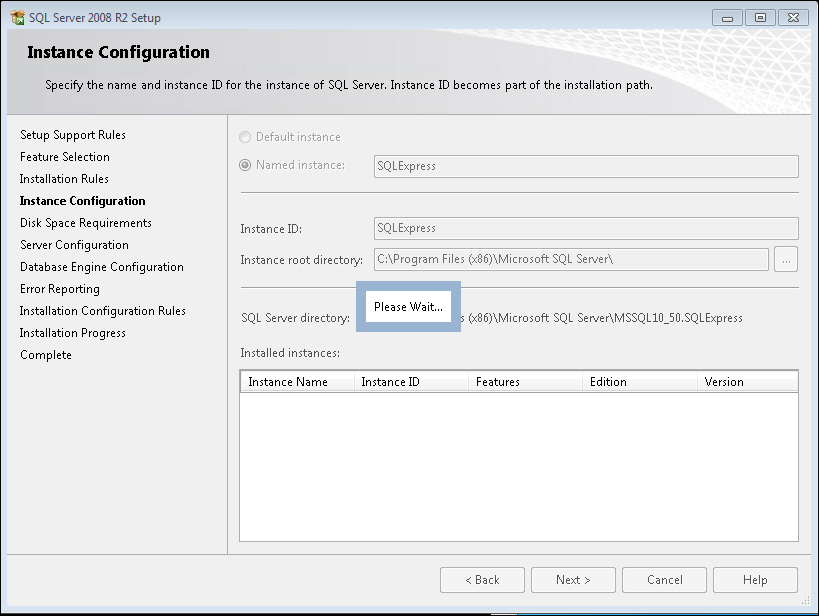
On the Instance Configuration screen, enter a Named Instance, if you wish, or leave the default name as SQLExpress.
Select Next.
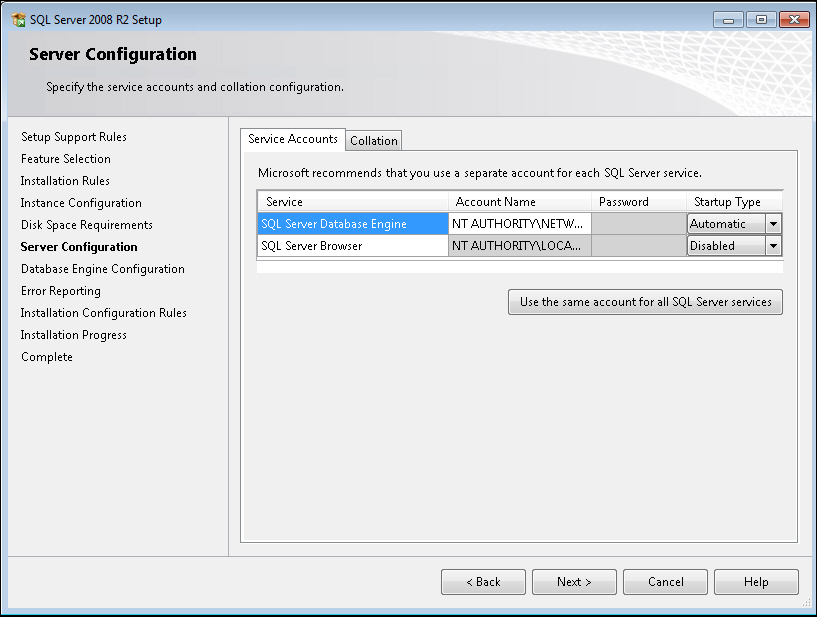
Select Next to accept the default settings (recommended) and proceed to the Database Engine Configuration screen.

Select Windows authentication mode. Select Next.
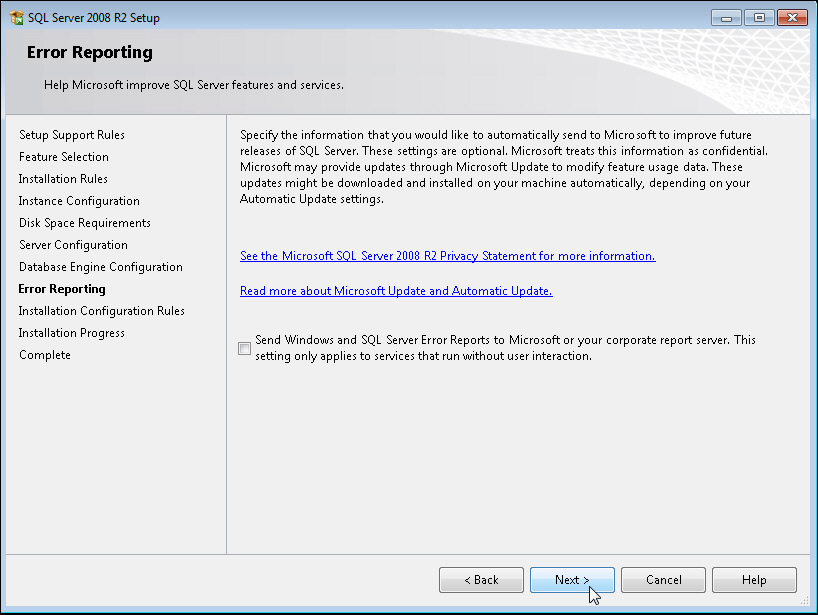
On the Error Reporting screen, select Next.
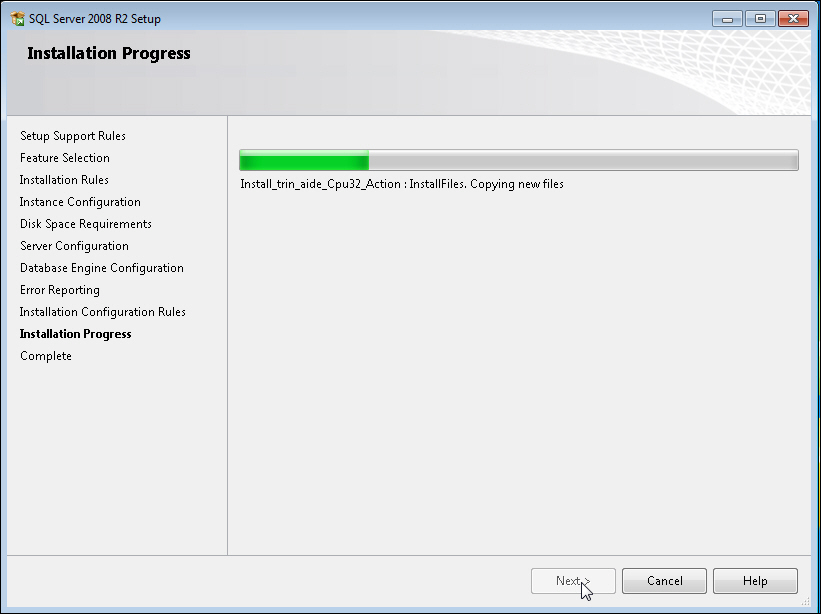
Select Next on the Installation Progress screen to copy files, etc. This process may take 5-10 minutes to complete.
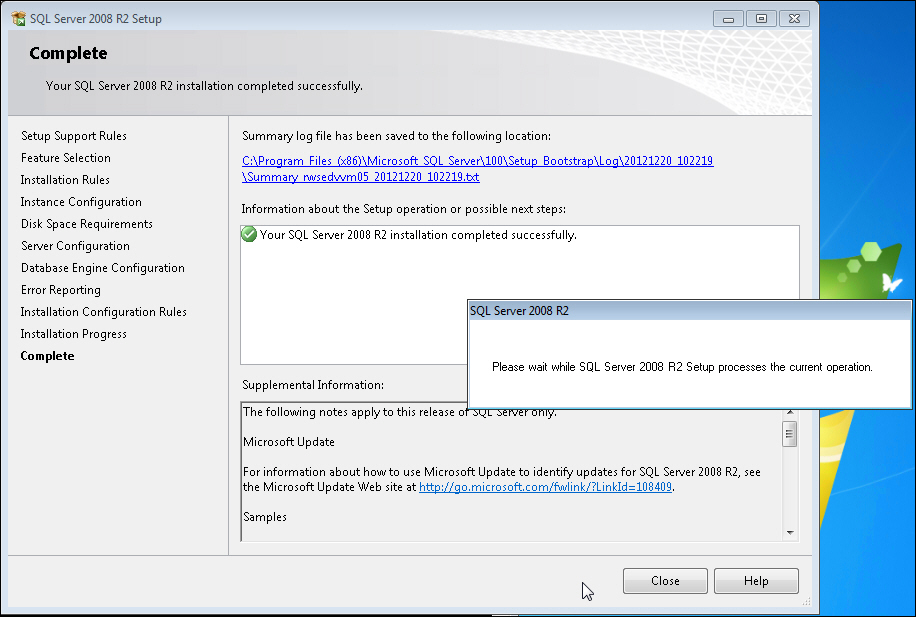
At the conclusion of the process, you are presented with the Complete screen, which shows the outcome and contains a link to the installation log file.
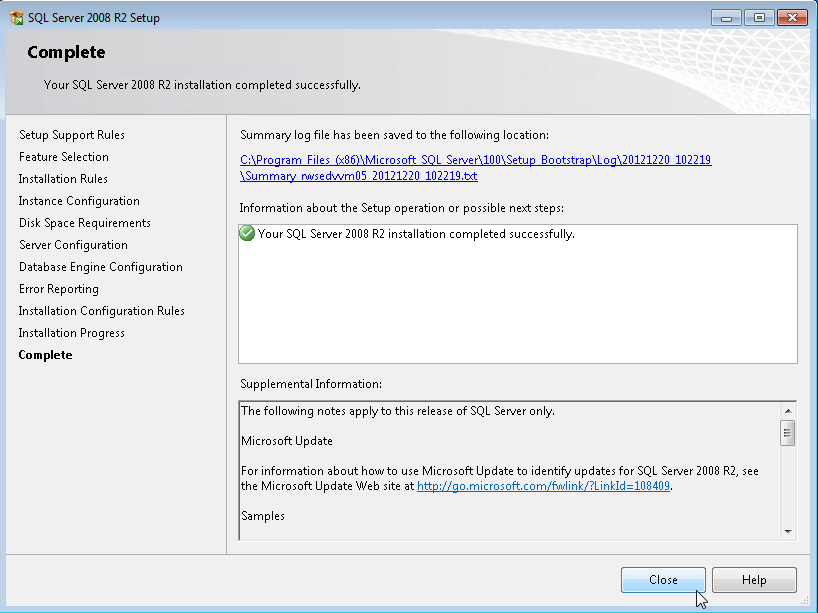
Select Close to end the SQL Express installation.
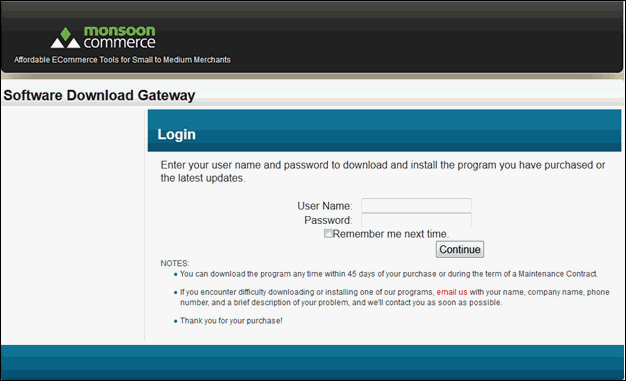
Download the Monsoon Commerce Payment Module from the Stone Edge download gateway. Enter the user name and password provided in an email sent to the customer of record when the product was purchased.
Save the installer in a location which is backed up regularly in case you need to run it again.
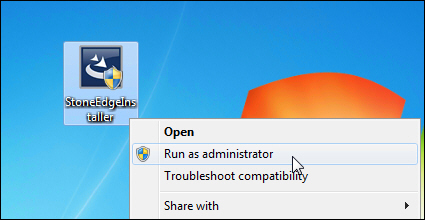
Right-click the installer and select Run as Administrator.
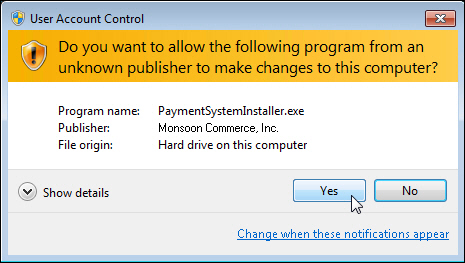
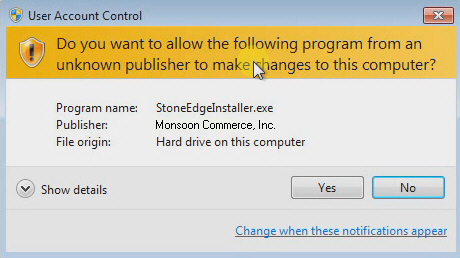
Verify the installer package is digitally signed by Monsoon Commerce, Inc. and select Yes.
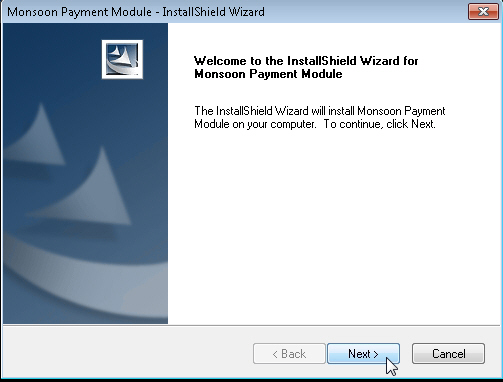
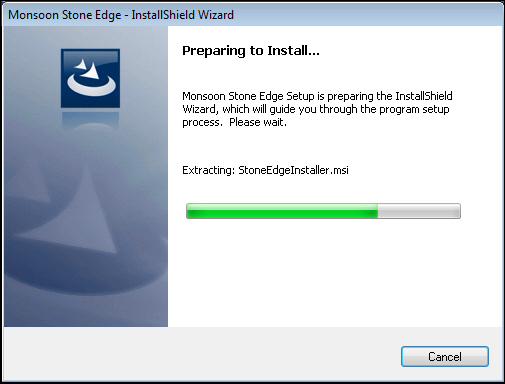
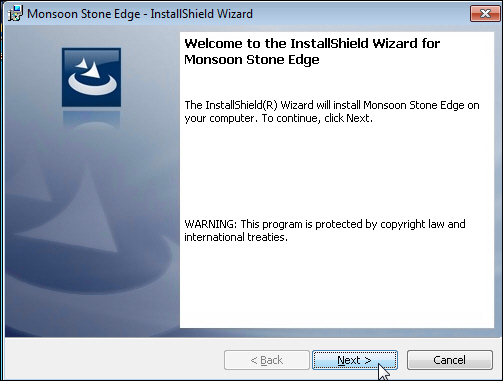
Select Next to begin the process of installing the Payment Module.
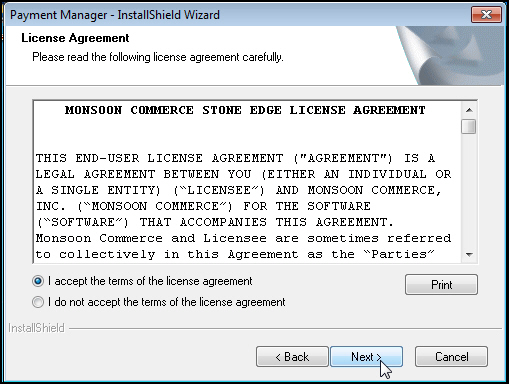
Review the Monsoon Commerce Licensing Agreement. Select I accept the terms in the license agreement and Next to continue with the product installation.
The Payment Module installation runs to completion.
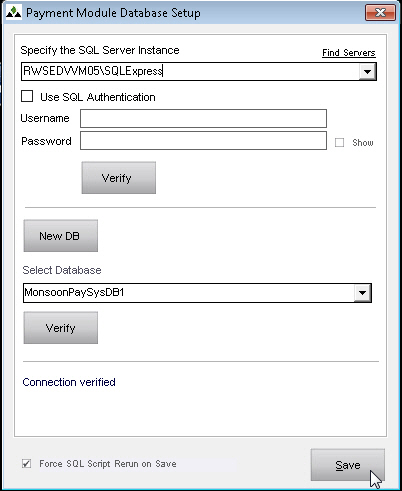
Type in the name of the SQL Server Instance to be used by the Payment Module.
It is highly recommended to use Windows authentication to login to the database rather than SQL authentication. To do so, leave the Use SQL Authentication box clear. (If you choose to use SQL authentication, select that check box and enter the Username and Password to access the database.)
Specify the name of the Payment Module’s database. The name must begin with “MonsoonPaySys”.
Select New DB.
Select Verify to test the connectivity to the new database.
Optional: Select Force SQL Script Rerun on Save to automatically update the database schema to current requirements when upgrading.
Select Save to record the database information.
You are prompted to create an Administrator User ID and Password. The password must meet the PCI requirements: eight characters in length, including at least one uppercase letter, one lowercase letter, one number and one special character. Optionally, define an additional User IDs. You should have at least two administrators, and any number of non-administrator User IDs. Refer to the Knowledge Base topic, How to Add a New User.
Define additional credit/debit card payment methods, if necessary. The payment methods must exactly match the Payment Methods coming from SEOM, which in turn must match the Payment Methods coming from the shopping carts. Refer to the Knowledge Base topic, How to Add a Payment Method. The following payment methods are pre-defined in the program:
Visa
MasterCard
Discover
Amex (American Express)
eCheck
Define all of your Payment Accounts (formerly known as Payment Gateways in previous versions of SEOM). See the topic, How to Add a Payment Account.
Define Payment Sources, if necessary. The program provides the default payment source, Monsoon Stone Edge. If you wish to use different payment accounts for Manual Orders, POS orders or specific shopping carts, create unique payment sources for the latter two by following the instructions in topic, How to Add a New Payment Source. If you use the same payment account for all orders, regardless of their source, go on to the next step.
Associate Payment Accounts with Payment Sources and/or Payment Methods. Refer to topic How to Associate Payment Accounts with Payment Sources. If you always want to use a specific payment account when processing transactions for a specific payment method, such as Amex, you can create a Conditional relationship that overrides any Primary of Secondary payment accounts assigned to a given payment source.
Go to the Stone Edge download gateway and log in with the User ID and password supplied in the order confirmation email sent to the customer of record when you purchased SEOM.
Note: Both fields are case sensitive. Enter the user name and password exactly as they appear in the email.
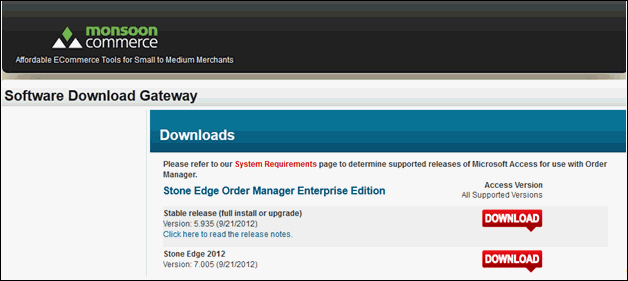
Select Download adjacent to the SEOM installer and save it on your local hard drive or network.
Navigate to the location of the SEOM installer. Right-click and select Run as Administrator.
Verify that the installer is digitally signed by Monsoon Commerce, Inc.
Select Yes.
Select Next and review the End-User License Agreement.
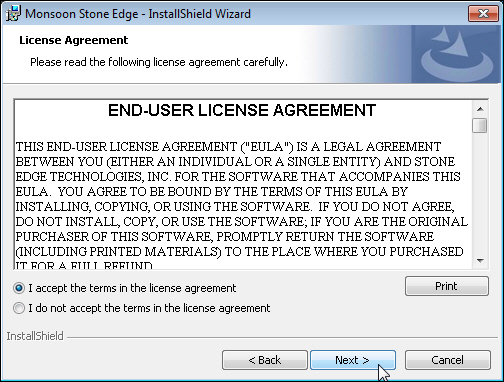
Select I accept the terms in the license agreement. Select Next.
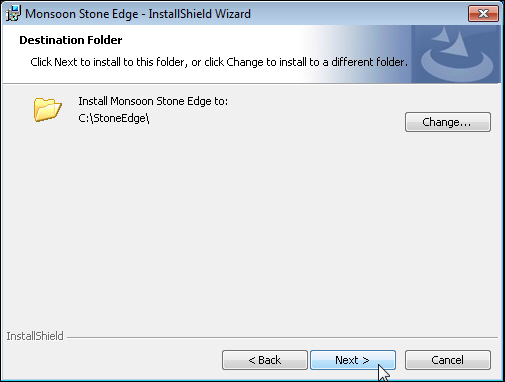
Select Next to install SEOM to the recommended location of c:\StoneEdge.
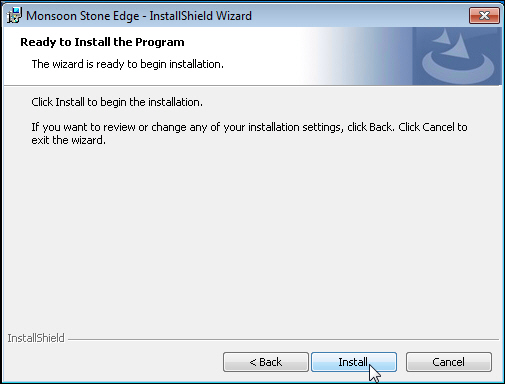
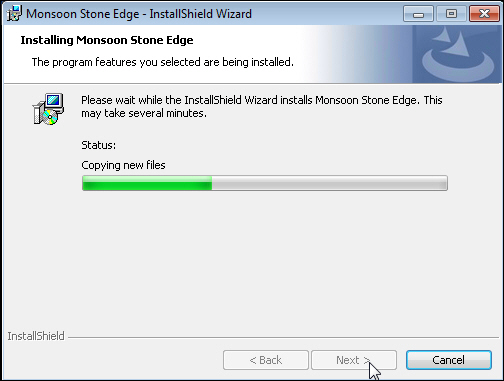
Select Install to begin copying the files.
After the OM Compiler runs, you are prompted to install Ghostscript.
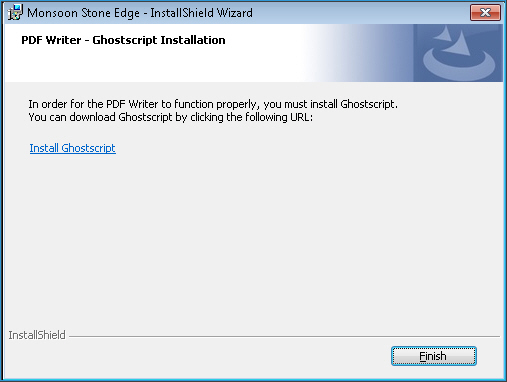
Select the link on this page to go to the website where you can download Ghostscript, which is required to run the PDFWriter distributed with the program starting in release 7.119.
Select the appropriate link (Windows 32-bit, or Windows 64-bit) from the GNU Affero General Public License section.
Download and save the installer.
Right-click the installer and select Run as Administrator.
Select Next.
Select I Agree.
Select Install.
Select Finish to end the installation of Ghostscript.
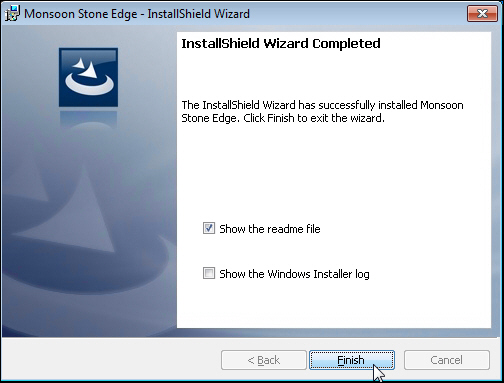
Select Finish to conclude the installation of Stone Edge. The ReadMe file is opened.
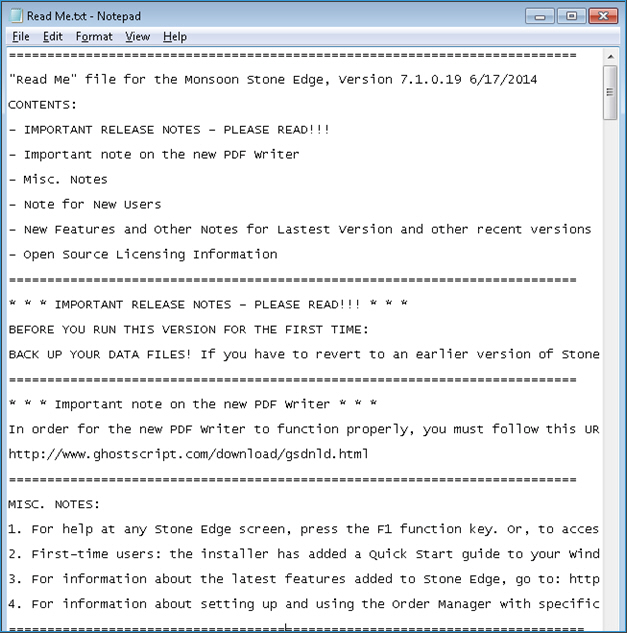
Review the ReadMe file for the latest information about the program. If you skipped over the previous step to install Ghostscript, the link to the website is also included in the Readme File, which is found in the Documentation sub-folder of the program installation folder.
Go to C:\Program Files (x86)\Monsoon Commerce\Payment Module.
Right-click MCSEPE01.exe and select Run as Administrator to start the Data Migration Utility. Follow the instructions in topic, How to Run the Data Migration Utility.
When the data is properly migrated to the Payment Module's database and data in the SEOM data file is cleansed, you can launch SEOM.
You can open the program by either of two methods:
Double-click on the SEOM desktop icon.
From the Start menu, go to Programs > Stone Edge Technologies Inc. > Stone Edge.
The License Setup dialog box opens. Enter the user name and password provided in the email (the same ones entered to access the download gateway).
Select Get License. A message box appears, stating that the license file has been updated. Select OK.
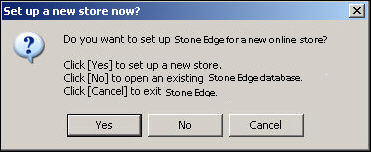
The program asks if you want to create a new store file or use an existing store file.
Previous users who have cleansed a pre-existing store data file should select No and navigate to the location of the store data file. You are done!
New users should select Yes and create a new store data file:
The Enter name and location for the new store’s data file dialog box opens. The store data file is the Access database that contains all of the information pertaining to a given store, from order information to the program's settings.
Note: The initial data file must be created as an Access Database, which can later be converted to an SQL database if the Enterprise Edition of the program is being installed. See Knowledge Base topic, Using an SQL Database - Stone Edge Enterprise Edition, for more information.
Specify the location for the new data file, e.g. c:\StoneEdge or \\FileserverName\StoneEdgeData, where FileserverName is the name of the server or host PC.
Enter a name for the store data file, for example, Ajax Orders.
Tip: Use a name for the store’s data file that includes all or part of your company’s name plus the word "Orders". Do not use ". com" in the file name.
Select OK.
The Enter company name dialog opens. Type in your company’s name and select OK.
Note: The name you enter here appears on screens and reports.
A message box appears, stating that the store has been opened. Select OK.
The Stone Edge – Setup Guide opens. Follow the steps in this wizard to complete the basic setup of the program.
To make additional changes to the program settings at a later date, you can use the Store Setup Wizard (Main Menu > Settings > System Functions > Store Setup Wizard). It is possible to Save and Exit from that wizard at any time and return to it later.
Share the SEOM program installation folder created during the server or host PC installation of SEOM. For instructions on how to share a folder, refer to your operating system’s Help.
Make sure each user/workstation has Full Control permissions to that folder.
Install the Stone Edge Order Manager
Select No when asked if you want to create a new store and navigate to the location of the store data file created in the server or host pc installation section by its UNC path. (\\servername\filename)
Install the Payment Module.
Respond Yes to the prompt about connecting to an existing SQL Database.
Select the database server where the Payment Module database was created when the software was installed on the server or host PC, earlier in this topic.
Launch the Payment Module and select the existing Payment Module database.
How to Associate Payment Accounts with Payment Sources
Installing and Configuing MCPM and Stone Edge in a Single Workstation Environment
Using an SQL Database - Stone Edge Enterprise Edition
Created: 2/25/13
Revised: 4/6/15
Published: 04/13/16