
Contents of this Topic: Show
Monsoon Commerce Reporting System (MCRS) is a cloud-based reporting service for Monsoon OMS customers to view sales and inventory data in a variety of reports. The reporting service is free to customers with a current support contract and includes a basic set of reports. In the future, fee-based premium reports may also be offered.
Monsoon Commerce Reporting System is compatible with OMS 7.025 Enterprise and higher.
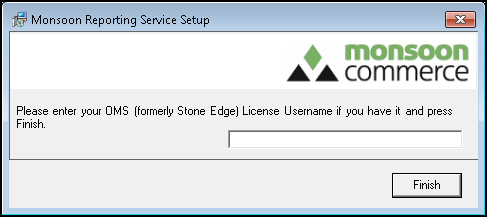
An independent Windows service, Monsoon Reporting Service (MRS) is installed wherever there are instances of SQL Server containing Monsoon OMS store files. Initially, data from the last two years is collected from the SQL Server and is sent to a corresponding repository in the cloud. The first execution of the service will take longer than subsequent runs as it must populate the web database with baseline information about all orders and inventory. No sensitive payment transaction or card holder data is collected or sent to the cloud. Each time the data collection service runs overnight, it identifies the changes made since the last time it ran, collects the new data and sends it to the cloud, minimizing the amount of time it takes to perform the upload. This process requires the SQL Server to be up and running at all times, with the exception of scheduled maintenance windows. If the SQL Server is not available when the update service runs, no data is collected until the next interval.
MRS is distributed as an MSI file which installs the software and automatically starts the service. The application requires no further user intervention once it is installed. MRS runs outside of Monsoon OMS at a random time, eliminating any potential performance impact. MRS records its activity in a file located at c:\program files x86\Monsoon Commerce\MRSUpload\log4net.log. View sample log output here.
Once the data is uploaded, reports are viewed here. You'll need the user name and password provided by Monsoon Commerce to log into the system. To log out of the system, go to File>Log Out or select Log Out under your user account in the upper right-hand corner.
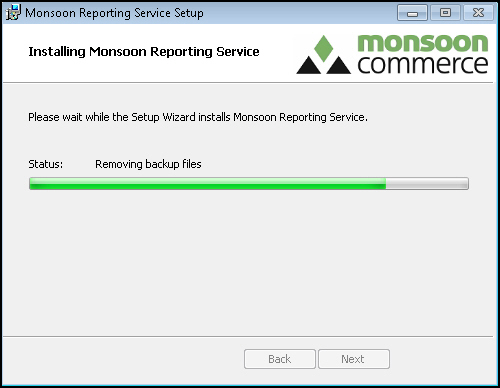
Select Next.


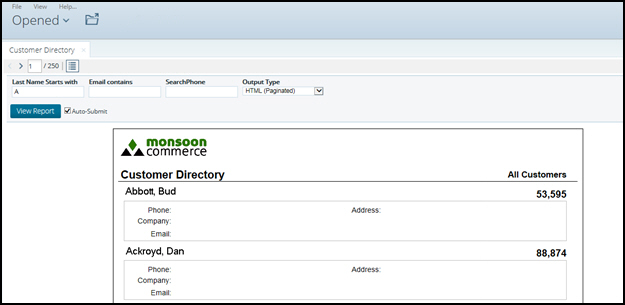
For example, the Customer Directory report can be filtered by the first letter of the last name (Last Name Starts with), a portion of an e-mail address (Email contains), or by phone number (SearchPhone), while the Payment Methods report can be filtered by making selections in Start Date and End Date.

Choose the Output Type if you care to print or save a copy of the report you are viewing.
The output choices are:
| HTML (Paginated) | Excel 2007 |
HTML (Single Page) |
Comma Separated Value |
| Rich-Text-Format | |
| Excel | Text |
Depending on your output selection, you are prompted for more information about how to handle the data. For example, if you select Rich-Text-Format, the following screen is presented.
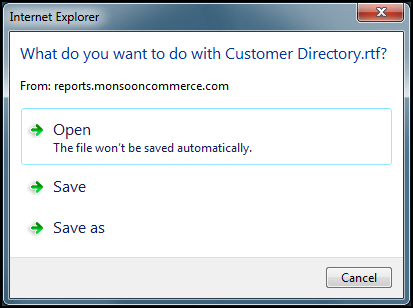
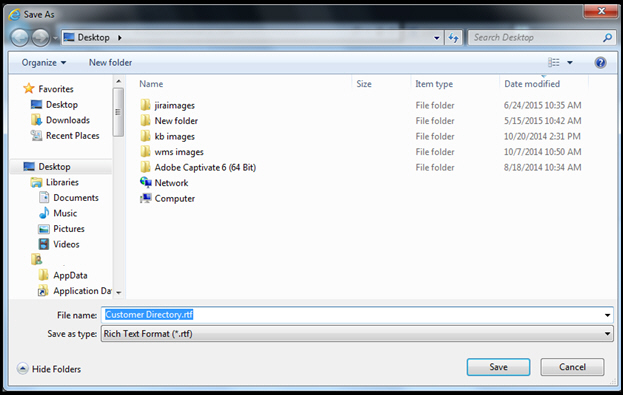
Use the default File name provided, or enter your own name for the report.
Select Save.
Created: 7/1/15
Revised: 7/28/15
Published: 09/10/15