

In this Topic: Show
This article outlines the steps necessary to begin setting up the integration between the Enterprise Edition of the Order Manager and UPS WorldShip.
This article assumes that the Enterprise Edition of the Order Manager is up and running, i.e., the Order Manager database (store) file is installed successfully on a SQL server and the Order Manager program file has been installed on the computer where you wish to setup WorldShip.
After you complete the steps in this article, go to the document UPS WorldShip Setup Full Documentation. To complete the setup, follow the instructions in these sections of that topic:
3) Creating an Import Map in WorldShip
4) Creating an Export Map in WorldShip
5) Processing Orders in WorldShip
For troubleshooting tips, see the Troubleshooting section below.
Create a blank Access database. Name it "worldship.mdb" or something similar, and if possible, save it in your StoneEdge directory (e.g. C:\StoneEdge).
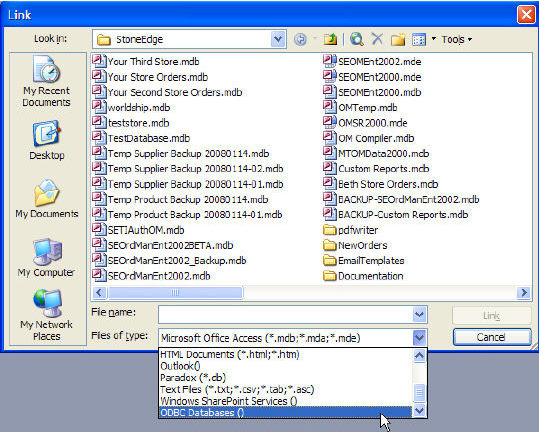
Open the Access database. From the File drop-down menu, select Get External Data> Link Tables. The Link window opens.
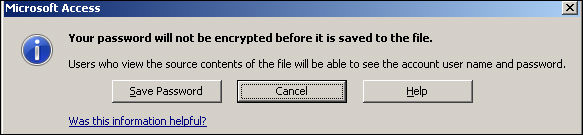
Click Save Password.
The Link Tables window opens.
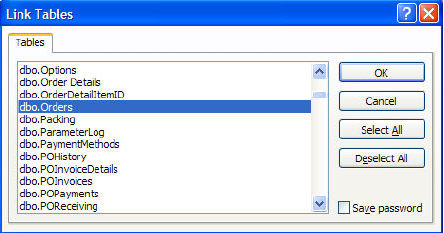
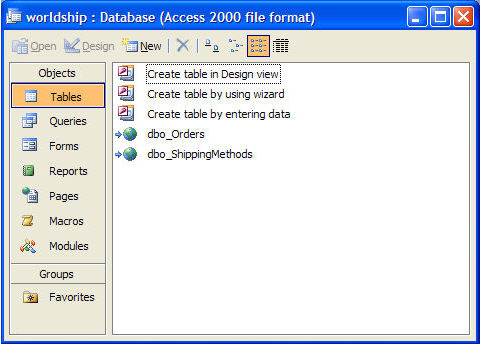
Holding the Ctrl or Shift button, select your orders table, typically "dbo.Orders," and dbo.ShippingMethods from the list of tables. Click OK.
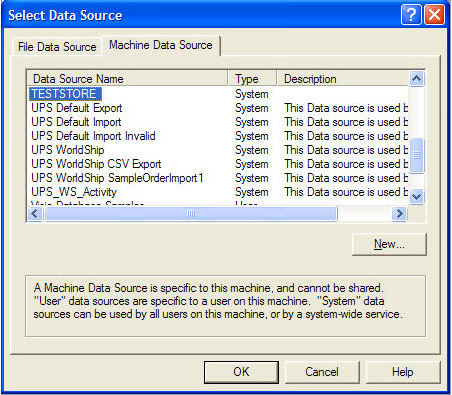
The database dialog box opens:
From the File drop-down menu, select Get External Data> Import. The Import window opens.

Browse to your Order Manger files (typically located in C:\StoneEdge) and select the SEOrdManEnt2002.mdb file. Click Import. The Import Objects window opens.
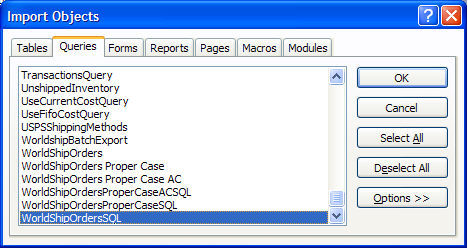
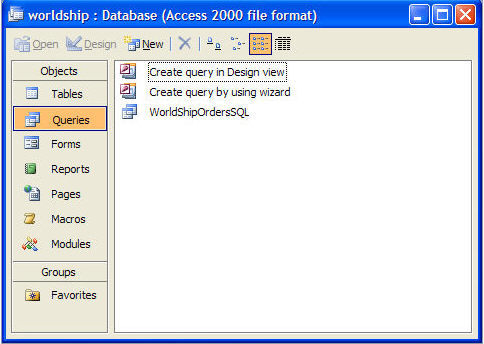
On the Queries tab, select WorldShipOrdersSQL. Click OK. The files now shows up in your Queries list.
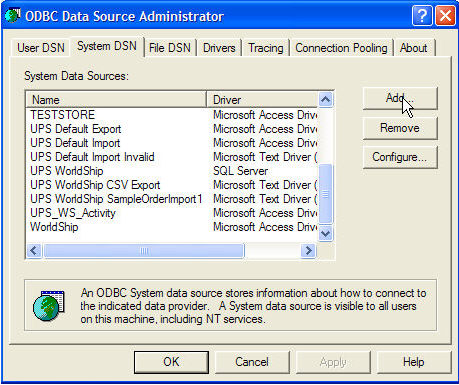
Now, create a new System DSN for this Access database. Go to Control Panel> Administrative Tools> Data Sources. The ODBC Data Source Administrator window opens. On the System DSN tab click Add.
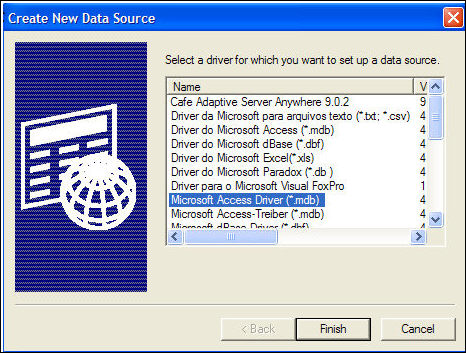
The Create New Data Source window opens. Click Microsoft Access Driver (*.mdb) and click Finish.
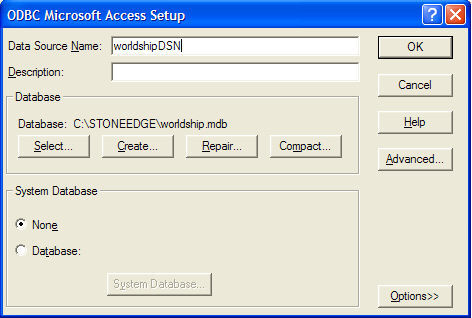
Type a name (any name will do) for the DSN in the Data Source Name field, and then click the Select button.
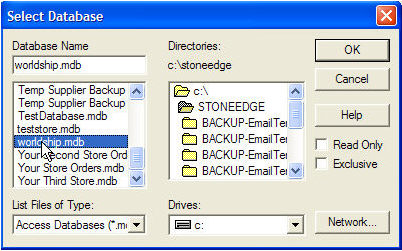
The Select Database window opens. Select the location of the new database you created (e.g. "worldship.mdb") and click OK.
Click OK in the ODBC Microsoft Access window. The DSN name will now appear in your ODBC Data Source Administrator window.
When those steps have been completed, the integration is complete.
ODBC errors may occur if the SQL Server is not configured properly. Creating a trusted connection between the server and the computers running World Ship may resolve some of the errors. For further assistance, contact Stone Edge Technologies Tech Support.
Created: 2/7/12
Updated: 6/24/12