Note: ML, ML 64 and MSx versions of AspDotNetStorefront are supported by the SETI integration script. Recommended minimum version is 7.2.0.5 SP1. MSx is supported through V9 if there is only one storefront in use. Support for multiple storefronts is still pending.
This document explains how to set up your ASPDotNetStorefront shopping cart to integrate with the Stone Edge Order Manager.
To set up an ASPDotNetStorefront shopping cart in the Order Manager, you must 1) download the script from the Stone Edge Technologies Download Gateway, 2) copy the script file into the root directory of your Web site, and 3) configure the Order Manager to integrate with your ASPDotNetStorefront shopping cart.
Go to www.stoneedge.net/dlgateway and find the ASPDotNetStorefront import script in the Other Downloads section.
Click the Download button next to ASPDotNetStorefront import script. A File Download dialog box pops us and asks if you want to Open or Save the Zip file that contains the script. Choose Save.
Select a location for the ADNSF-Import.zip file. (Saving the file to your desktop is fine.) Click Save.
When the Download Complete message appears, click Close.
Open the ADNSF-Import.zip file on your desktop and extract all files.
Browse to the directory on the server where your Web site resides and open the root folder of your Web site. (Ask your web hosting company if you're unsure where your root directory is.)
Copy the correct version of the integration script into the root directory folder:
Version 9 users should use the ADNSF-Import.ashx script
Version 8 users should use the ADNSF8-Import.aspx script
Close out of your Web site directory.
You can access the Shopping Carts dialog box one of three ways:
Main Menu> Maintenance Menu> Cart Functions tab> Create/Edit Shopping carts button
Main Menu> Maintenance Menu> Maintenance tab> Store Setup Wizard> Shopping Carts tab
Quick Clicks>Setup Wizard> Shopping Carts tab
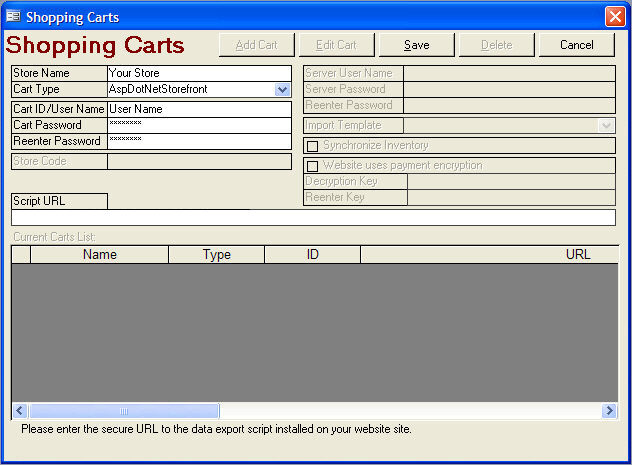
The Shopping Carts dialog box opens.
Click Add Cart from the Shopping Carts screen.
Choose ASPDotNetStorefront from the Cart Type drop-down list. If the user is only licensed for one shopping cart type the Cart Type drop-down box will not be visible. Go on to the next step.
Type your shopping cart (store) name in the Store Name field.
In the Cart ID/User Name field, type the admin user name that you use to log into your ASPDotNetStorefront store.
In the Cart Password field, type the admin password that you use to log into your ASPDotNetStorefront store.
Re-enter your password in the Reenter Password field.
For the Script URL, type your shopping cart URL, followed by a forward-slash and the name of the script you placed the root directory. Follow this example:
Version 9
www.yourstore.com/ADNSF-Import.ashx
or
Version 8
www.yourstore.com/ADNSF8-Import.aspx
Note: You do not need to include http:// or https://. The OM will remove these prefixes when you click Save.
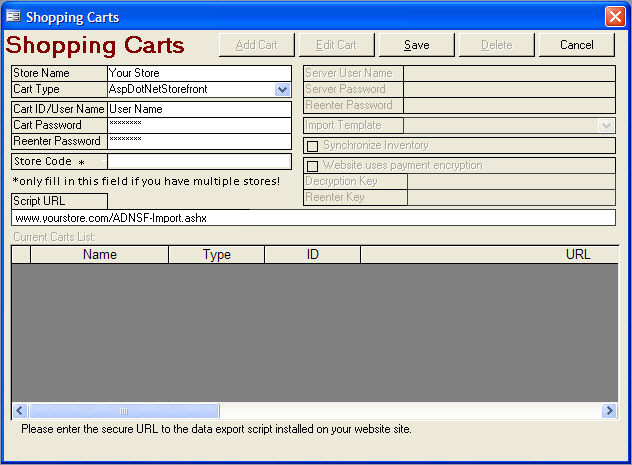
Version 9 script depicted
Click Save.
To exit, click Close.
See Also:
Real-time Inventory Tracking with an ASPDotNetStoreFront Cart
Updated 8/19/09
Modified 8/16/11