

In this Topic: Show
Before you can ship packages via DHL with the Order Manager you must install DB Connect, map the database fields between the Order Manager and DB Connect, and lastly, create the export map.
After performing the tasks below you will be able to do a Keyed Import via the "Search For" field for orders that are Approved.
1. Locate DB Connect in the c:\dhl\DBConnect\DbConnectSetup.msi directory.
2. Double-click DBConnect.exe to launch the installation program.
3. Right-click Customer Database and select Add New Customer Database.
4. Select the DSN to the Order Manager data file. See the article Creating an ODBC Connection in Windows for more information.
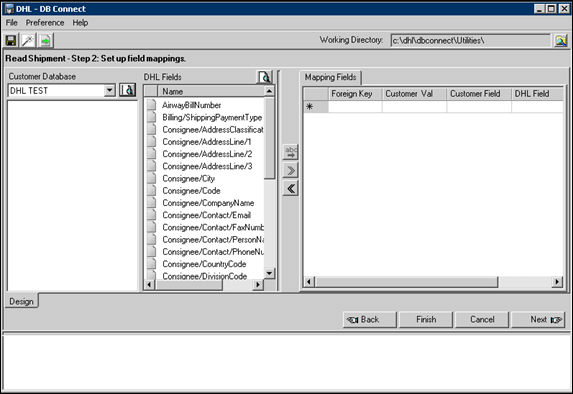
5. Under Actions, expand Read From Customer Database, then select Read Shipment.
6. In the drop down list under Customer Database, select the New Customer Database that you created above.
7. Select Next.
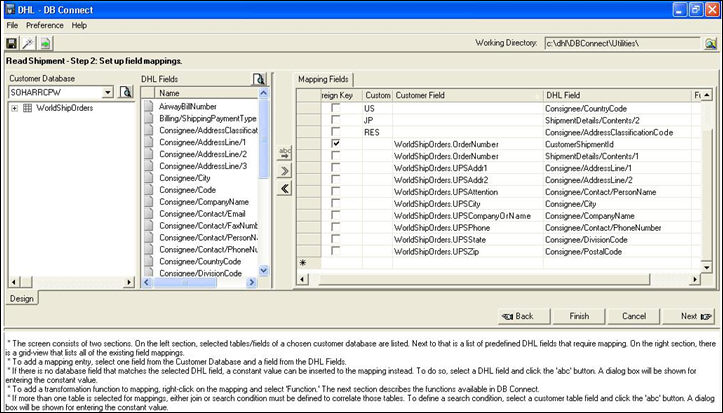
1. Click on the icon next to your customer database name.
2. Select WorldShipOrders.
3. Click on the plus (+) sign to expand WorldShipOrders.
4. Select OrderNumber in the left hand column and CustomerShipmentId in the right-hand column. Make foreign key. Then click the >> button. Repeat this until all of the fields listed below are mapped:
· WorldShipOrders.Shipping Service/1/ServiceType !!!needs shipping letter instead of name
· WorldShipOrders.UPSCompanyorName Consignee/CompanyName
· WorldShipOrders.UPSAddr1 Consignee/AddressLine/1
· WorldShipOrders.UPSAddr2 Consignee/AddressLine/2
· WorldShipOrders.UPSCity Consignee/City
· WorldShipOrders.UPSState Consignee/DivisionCode
· WorldShipOrders.UPSZip Consignee/PostalCode
· WorldShipOrders.UPSWeight ShipmentDetails/Weight
· WorldShipOrders.UPSPhone Consignee/Contact/PhoneNumber
· WorldShipOrders.UPSattention Consignee/Contact/personname
5. Click Next.
6. Click Finish.
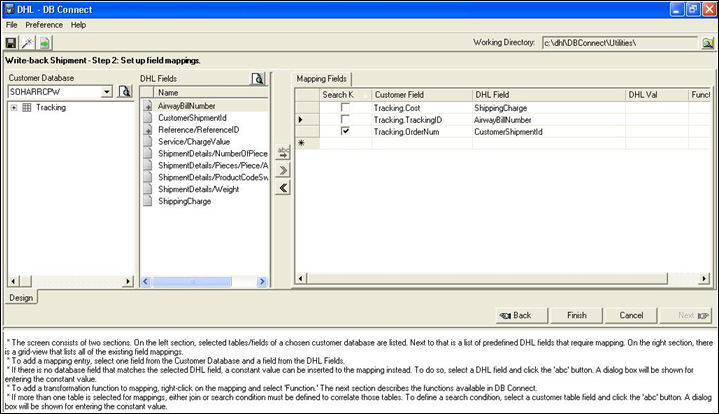
Click on Write Back Shipment.
In the drop down list under Customer Database, select the New Customer Database that you created above.
Click on the Magnifying Glass icon next to the database name and select Tracking.
Click OK.
Click Next.
Right-click Tracking. Choose Insert.
Click on the plus (+) sign to expand Tracking. Select Cost in the left hand column and ShippingCharge in the right-hand column. Then click the >> button. Repeat this until all of the fields listed below are mapped:
Tracking.OrderNum -- CustomerShipmentId
Tracking.TrackingID -- ShipmentDetails/Pieces/Piece/AirwayBillNumber
Tracking.Cost -- ShippingCharge
Note: If you don’t see the fields, click on the Magnifying Glass icon next to DHL Fields.
On the far right panel, check Search Key next to the Tracking.OrderNumber field.
Click Finish.
Click Save and Export on the File menu.
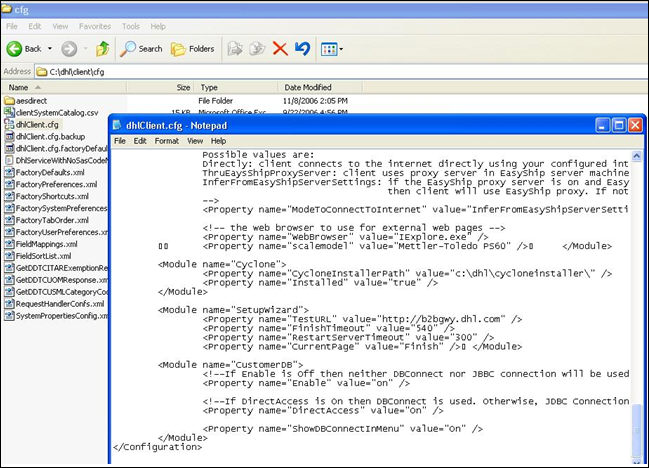
· Located on the C drive c:\dhl\client\cfg\dhlclient.cfg
· <Module name ="CustomerDB">
· Edit file and Enable according the screenshot
Select shipment and enter Order Number in "Search For" field
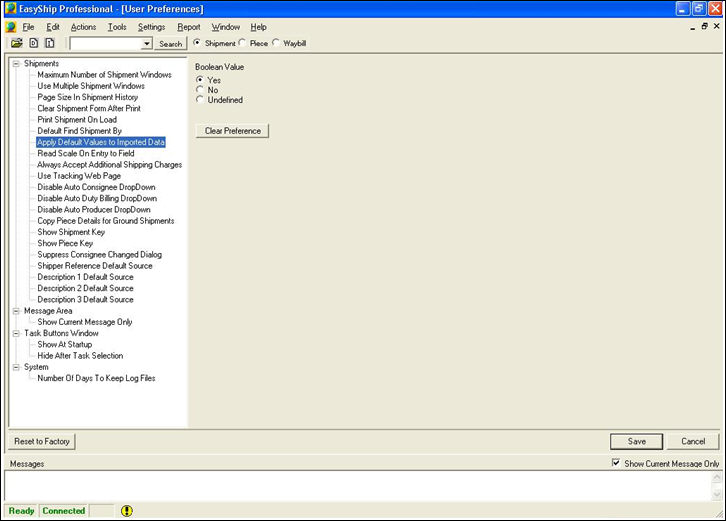
Settings-->User Preferences--> Shipments--> Apply Default Values to Imported Data
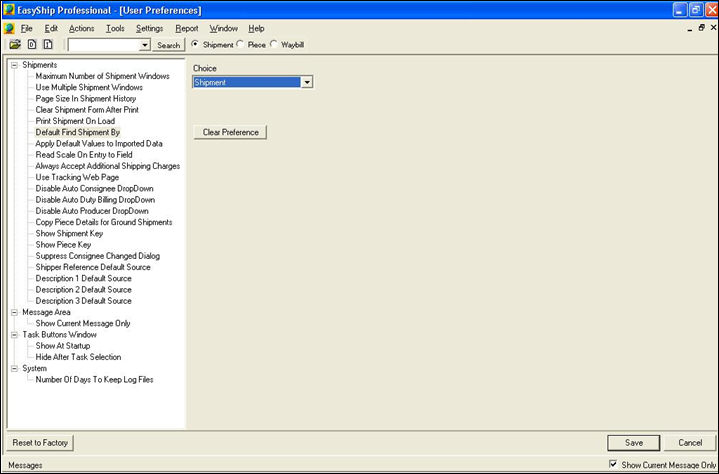
And Default Find Shipment By
Created: a long time ago!
Revised: 11/4/14